Hey there everyone!
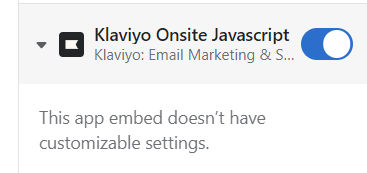
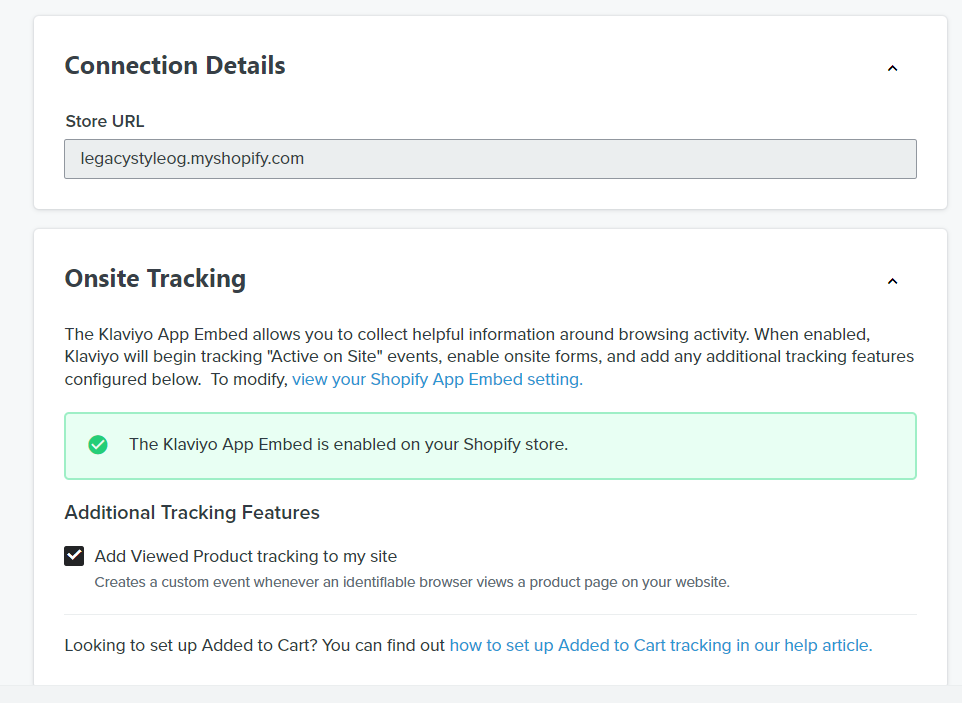
I've recently enabled my Klaviyo account and integrated it with Shopify but the code doesnt appear when I want put to it in my code theme. Thank you


Best answer by Irrra
View original +1
+1
Hey there everyone!
I've recently enabled my Klaviyo account and integrated it with Shopify but the code doesnt appear when I want put to it in my code theme. Thank you


Best answer by Irrra
View originalHi
If you're having trouble integrating Klaviyo with Shopify, here are a few things you can try to resolve the issue:
Check the integration setup: Make sure that you've completed all the steps for integrating Klaviyo with Shopify. This typically involves adding the Klaviyo tracking code to your Shopify theme, setting up Shopify event tracking, and connecting your Klaviyo account to your Shopify store.
Check the theme code: Make sure that the Klaviyo tracking code is properly installed in the correct location in your Shopify theme code. The code should be added immediately after the opening <head> tag.
Check the code format: Make sure that the Klaviyo tracking code is formatted correctly and that there are no typos or syntax errors.
Disable any ad-blocking software: Ad-blocking software can sometimes prevent the Klaviyo tracking code from loading. Try disabling any ad-blockers you have installed and then refresh the page to see if the code appears.
Check the Shopify domain: Make sure that the Klaviyo tracking code is installed on the correct domain. If you have a custom domain set up in Shopify, you will need to make sure that the Klaviyo tracking code is installed on that domain, not the default Shopify domain.
Or you can manually add the snippet to your theme.liquid file. With the {% if %} logic we provide, we'll ensure this only appears on the product pages.
{% if product %}
<script type="text/javascript"> var _learnq = _learnq || []; var item = {
Name: {{ product.title|json }},
ProductID: {{ product.id|json }},
Categories: {{ product.collections|map:'title'|json }},
ImageURL: "https:{{ product.featured_image.src|img_url:'grande' }}",
URL: "{{ shop.secure_url }}{{ product.url }}",
Brand: {{ product.vendor|json }},
Price: {{ product.price|money|json }},
CompareAtPrice: {{ product.compare_at_price_max|money|json }} };
_learnq.push(['track', 'Viewed Product', item]);
_learnq.push(['trackViewedItem', {
Title: item.Name,
ItemId: item.ProductID,
Categories: item.Categories,
ImageUrl: item.ImageURL,
Url: item.URL,
Metadata: {
Brand: item.Brand,
Price: item.Price,
CompareAtPrice: item.CompareAtPrice
} }]);
</script>
<script type="text/javascript">
var _learnq = _learnq || [];
document.getElementById("AddToCart").addEventListener('click',function (){
_learnq.push(['track', 'Added to Cart', item]);
});
</script>
{% endif %}
Hey
What code are you missing? I can see the Klaviyo script it on your site https://legacystyleog.com, as shown below. You should be good to go. Are you trying to embed a form?

Enter your username or e-mail address. We'll send you an e-mail with instructions to reset your password.