Solved

Link a button on my store to Trigger a popup form

  • 25 August 2021
  • 7 replies
  • 3144 views

Badge +2

I have a page on my Shopify store with a Button that when pressed I would like it to trigger a Klaviyo popup, is this possible?


Thank you for any advice, I did see they have the Legacy, but the form and button was very basic, so I would like to just use the button that is created with the website theme and just some how link that to trigger the popup.


Thank you

icon

Best answer by Taylor Tarpley 26 August 2021, 21:50

View original

7 replies

Userlevel 7
Badge +60

Hi @Webgatorz


Welcome to the Community Forum, we are so happy you are here! Congrats on your first post in the Community! 


Yes you are able to trigger a popup when clicking on a button!  Creating a Button that Triggers A Legacy Signup Form is an easy and targeted way to interact with you customers. Creating this will entail installing code on your website to create the button and installing a second code that will trigger the legacy popup form. Essentially, the first code projects this button onto your site and then triggers a legacy form that will collect more information from your customers and send it back to Klaviyo! 


I totally understand wanting the form and button to match your company and website styling. You have the ability to customize your legacy popup and change the style of your button as well for full customization! To customize your button’s styling, replace the button’s standard “on click” code, shown below, with an “on click” code from a button on your website. This will change it to look more cohesive with your branding.


onclick="KlaviyoSubscribe.attachToModalForm('#k_id_modal',{delay_seconds: 0.01, hide_form_on_success: true}


You can also change what your button says before it triggers the legacy form. To do this, replace the ‘Click Me’ portion of your new button’s code with your desired phrase or word. 


Finally, it’s important to make sure the IDs in both the button and form code match or else they will not be connected and function correctly. 


Thank for being a part of the Community!


Best,

Taylor

Badge +2

Hi Taylor,


That info is brilliant, will look at it and have a go :-) If I get stuck with creating the styling etc of the pop up is it something I can post in this community to get help on how to change what I have into what I want?


Once again thank you :-)


All the best, take care

Chris

Badge +2

Hi Taylor,


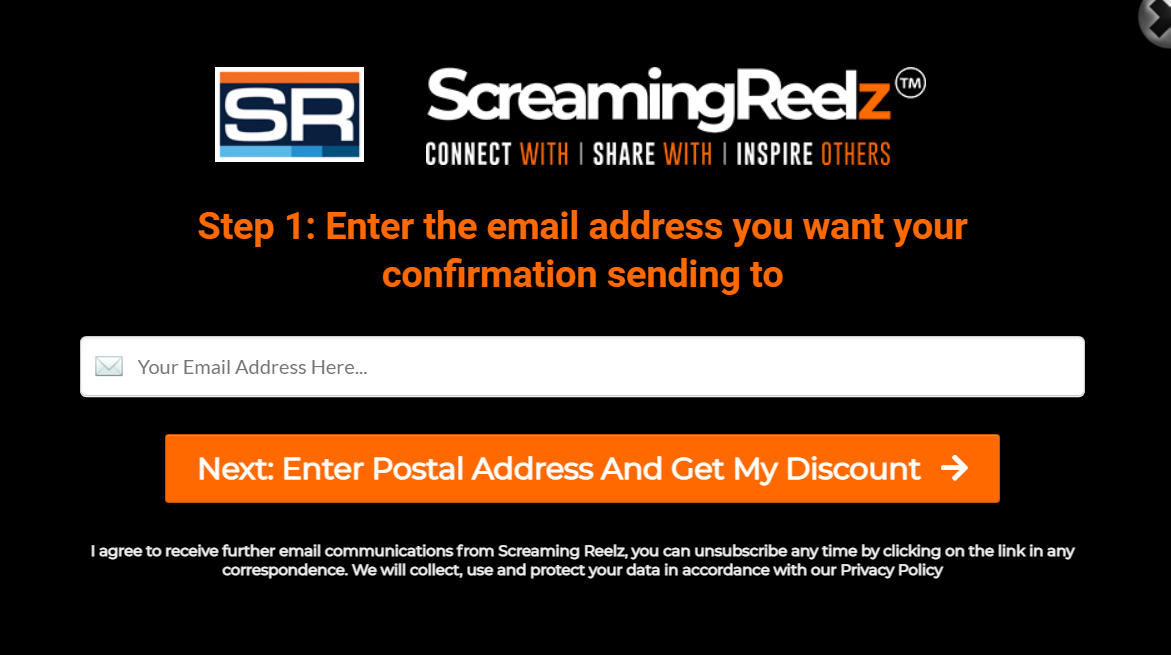
I have got so far, but stuck on how to add inline CSS into the form, to make it look like the one in the image below. I have the image showing ok


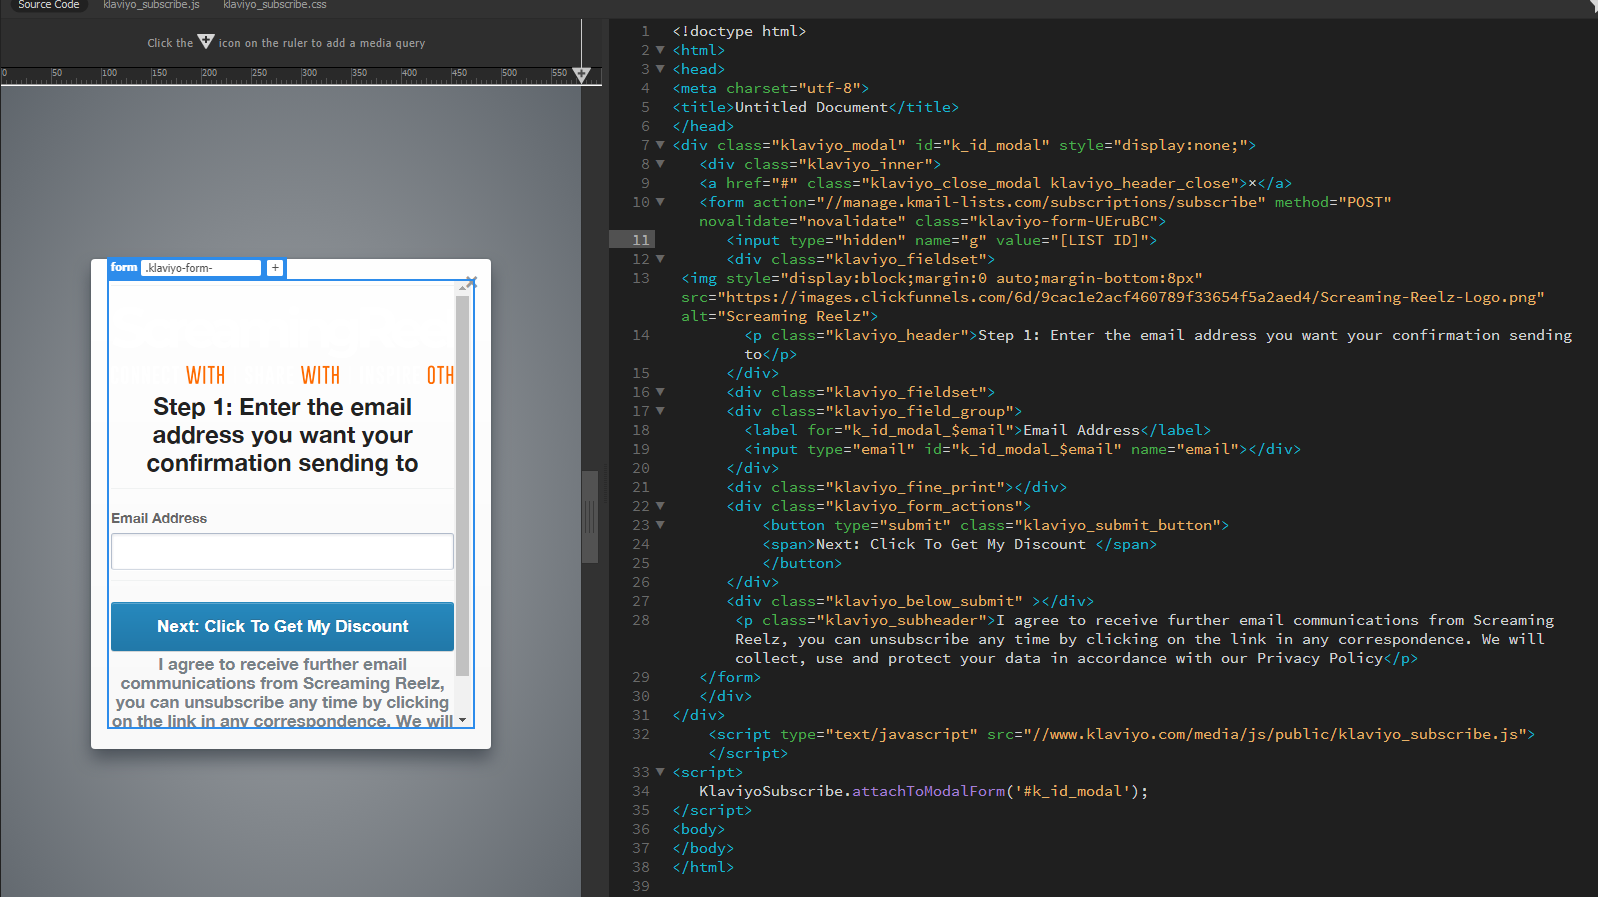
This is how it looks at the moment below, so need to make it auto width and not have a scroll bar also.


Also when you do this version I dont see instructions on how to add the following

  • success_url: optional, string. After a successful form submission, the page will redirect to this URL.

Any info on adding inline CSS to just get me started would be greatly appreciated, I just don’t want to mess up any of your code :-)


Thank you really appreciate it :-)


<div class="klaviyo_modal" id="k_id_modal" style="display:none;">
   <div class="klaviyo_inner">
   <a href="#" class="klaviyo_close_modal klaviyo_header_close">×</a>
   <form action="//manage.kmail-lists.com/subscriptions/subscribe" method="POST" novalidate="novalidate" class="klaviyo-form-UEruBC">
      <input type="hidden" name="g" value="[LIST ID]">
      <div class="klaviyo_fieldset">
 <img style="display:block;margin:0 auto;margin-bottom:8px" src="https://images.clickfunnels.com/6d/9cac1e2acf460789f33654f5a2aed4/Screaming-Reelz-Logo.png" alt="Screaming Reelz">
        <p class="klaviyo_header">Step 1: Enter the email address you want your confirmation sending to</p>
      </div>
      <div class="klaviyo_fieldset">
      <div class="klaviyo_field_group">
        <label for="k_id_modal_$email">Email Address</label>
        <input type="email" id="k_id_modal_$email" name="email"></div>
      </div> 
      <div class="klaviyo_fine_print"></div>
      <div class="klaviyo_form_actions">
          <button type="submit" class="klaviyo_submit_button">
          <span>Next: Click To Get My Discount </span>
          </button>
      </div>
      <div class="klaviyo_below_submit" ></div>
       <p class="klaviyo_subheader">I agree to receive further email communications from Screaming Reelz, you can unsubscribe any time by clicking on the link in any correspondence. We will collect, use and protect your data in accordance with our Privacy Policy</p>
   </form>
   </div>
</div>

Userlevel 7
Badge +60

Hi @Webgatorz


We are so happy to help! It looks like you’re doing a great job so far creating this custom form and button! I totally understand code can be really confusing and tricky when you don’t specialize in it! Unfortunately, Klaviyo support doesn’t support troubleshooting custom HTML and CSS. We are still committed to getting you the help you need, so I recommend reaching out to a developer or Klaviyo Partner to keep working towards your business goals and further troubleshooting!


Best,

Taylor 

Badge +2

Hi Taylor thank you, for the link :-)

All the best

Chris

Badge +2

Hi! Is there a way to connect the legacy form to an existing button on the website and not creating a new button that matches the branding?

Userlevel 7
Badge +60

Hi @naveed932


Thanks for sharing your question with us!


Yes, you are totally able to skip the first step of the solution I gave to this users earlier and only implement the second part, which is installing the code in the button of your choosing to project the form which clicked. I would suggest following the same documentation I referenced earlier on building this specific legacy form I referenced earlier to install the code needed project the form onto you site. To link it to a pre-existing button, you will need to click into the source code of the button you want and insert the code you find in quotations after ‘ onclick= ’ and replace it into the long code at the bottom of my message where you find Klaviyo’s example button ID, shown directly below: 


KlaviyoSubscribe.attachToModalForm('#k_id_modal',{delay_seconds: 0.01, hide_form_on_success: true, 


As this will help the form identify which button needs to fire to display the form. 


<script type="text/javascript" src="//www.klaviyo.com/media/js/public/klaviyo_subscribe.js"></script>
<button onclick="KlaviyoSubscribe.attachToModalForm('#k_id_modal',{delay_seconds: 0.01, hide_form_on_success: true, ignore_cookie: true, success_message: false});">Click me</button>


However, as this deals with custom coding, I would recommend reaching out to a developer or enlisting a Klaviyo Partner to help you install this as it can be very tricky and one misplaced letter or additional space can cause the form to not fire. 


Additionally, I can see that your other post on this also received a reply if you want to check it ou! 


Thanks for being a part of the Community! 


-Taylor 

Reply