

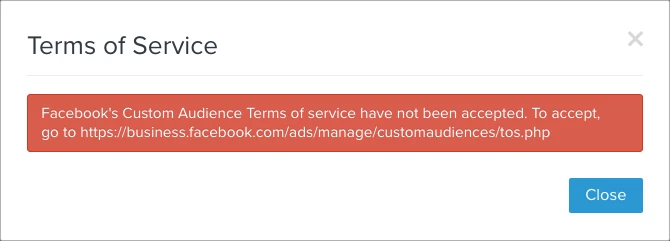
If you’re prompted by an error message to accept Facebook's Custom Audience Terms of Service, that indicates that you need to accept Facebook's Custom Audiences Terms of Service.
If you’ve recently updated your Facebook permissions, or already accepted the terms of service, and still receive this error (or, if you receive a null error or a “We are unable to update your integration settings at this time. Please refresh or try again later” error) follow the alternative instructions listed below.
- If your Ads Account is directly associated with your personal Facebook account, follow this link and accept the TOS: https://www.facebook.com/ads/manage/customaudiences/tos.php
- If your Ads Account is in a Business Manager account you ALSO need to accept the TOS from within your business manager account (see below).
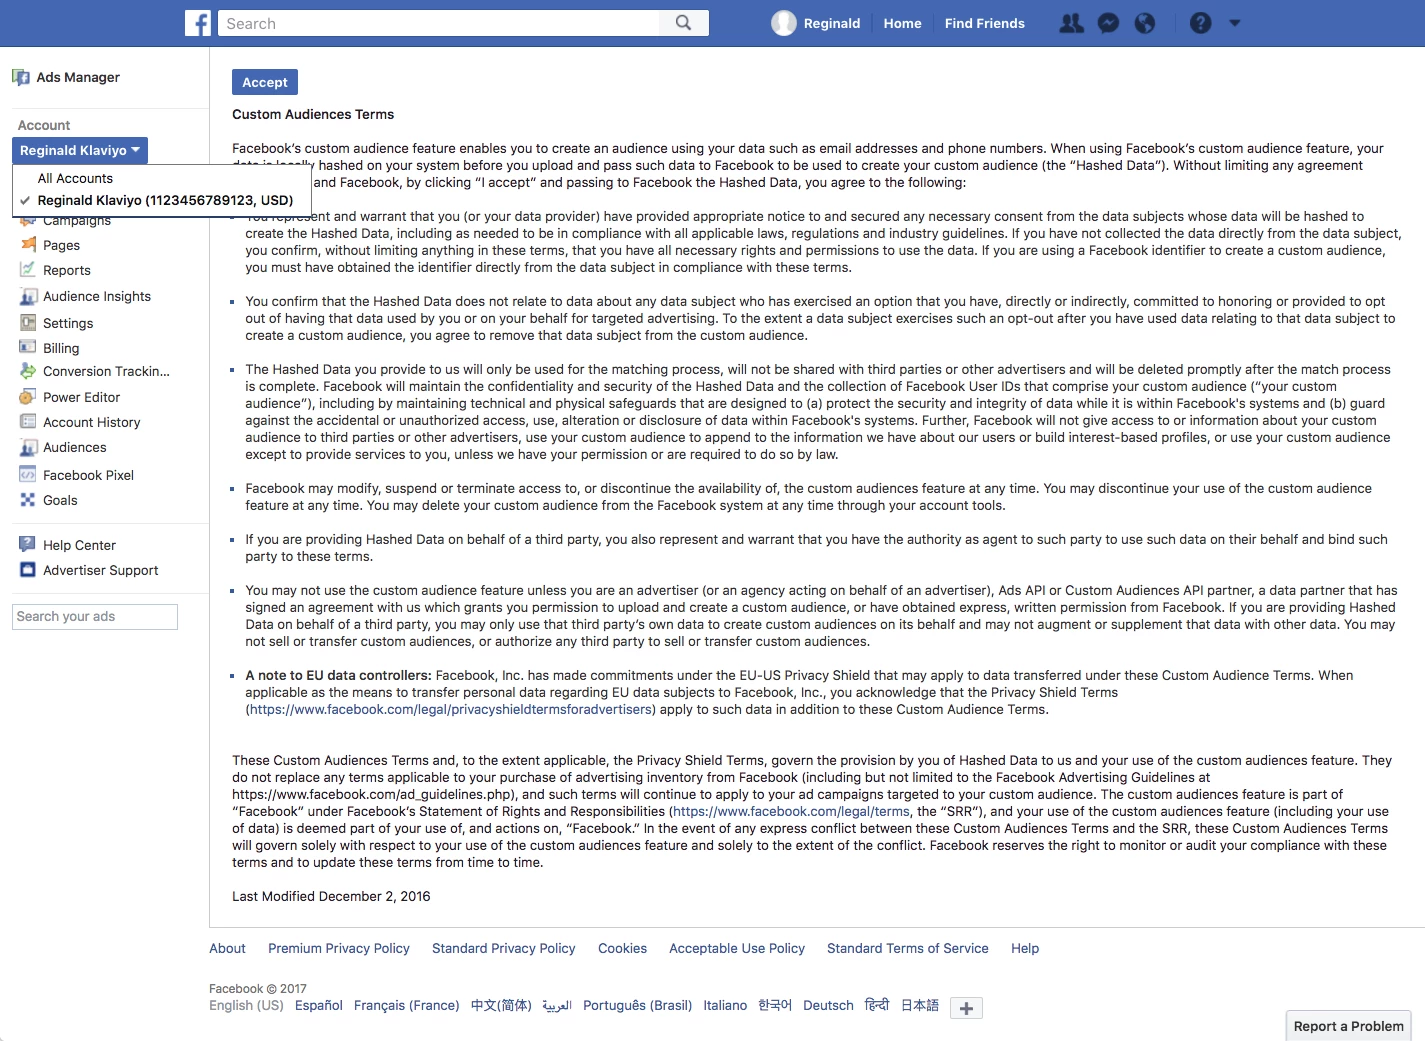
Accepting TOS for a Personal Ad Account
The link you see in Klaviyo will take you to the Terms of Service (ToS) page for whichever Facebook account you are already logged into. To ensure you are accepting the ToS for the right Ads account, reference the drop-down menu in the upper left-hand corner.
Click Accept to accept the terms of service.
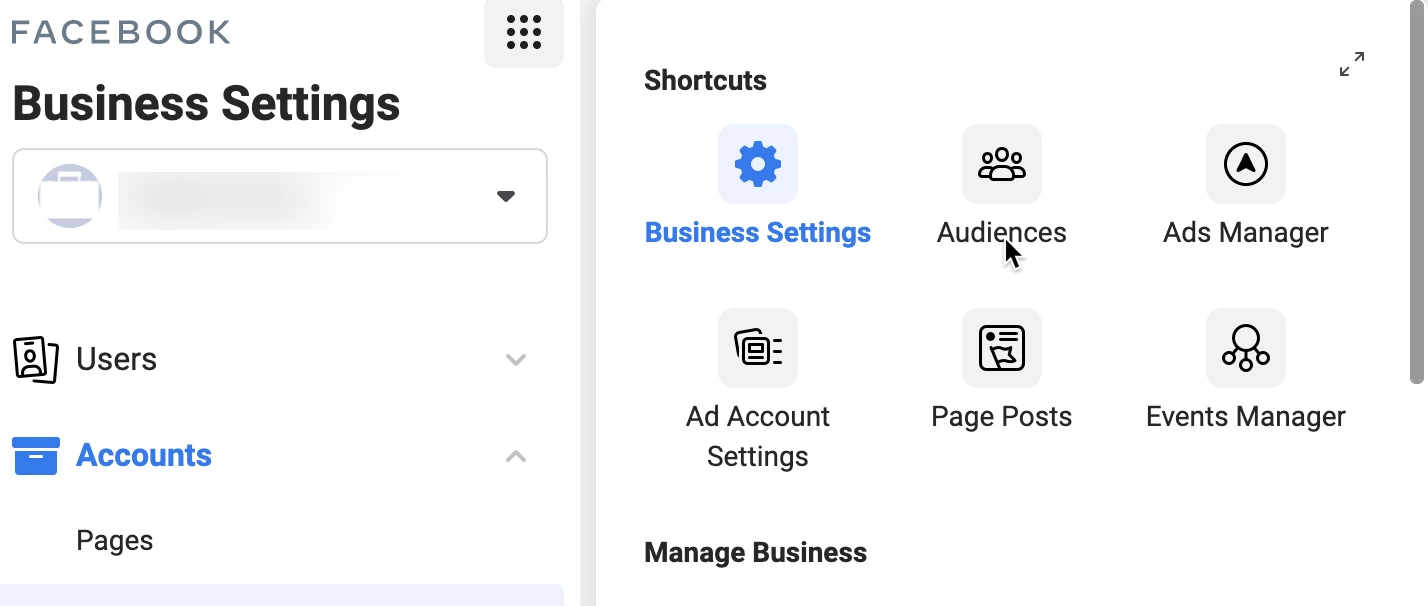
Accepting TOS for a Business Manager Ad Account
From Business Settings navigate to Business Tools menu > Audiences under Shortcuts. Business Tools can be found by clicking the square on the toolbar.
In the Create Audiences dropdown, choose Custom Audience. Select Customer list, and then click Next. The next page, entitled How to Prepare Your Customer List, will prompt you to click Next again. The following page, entitled Select List Type, will allow you to click on a link to the Facebook Business Tools Terms, in blue at the bottom of the page.
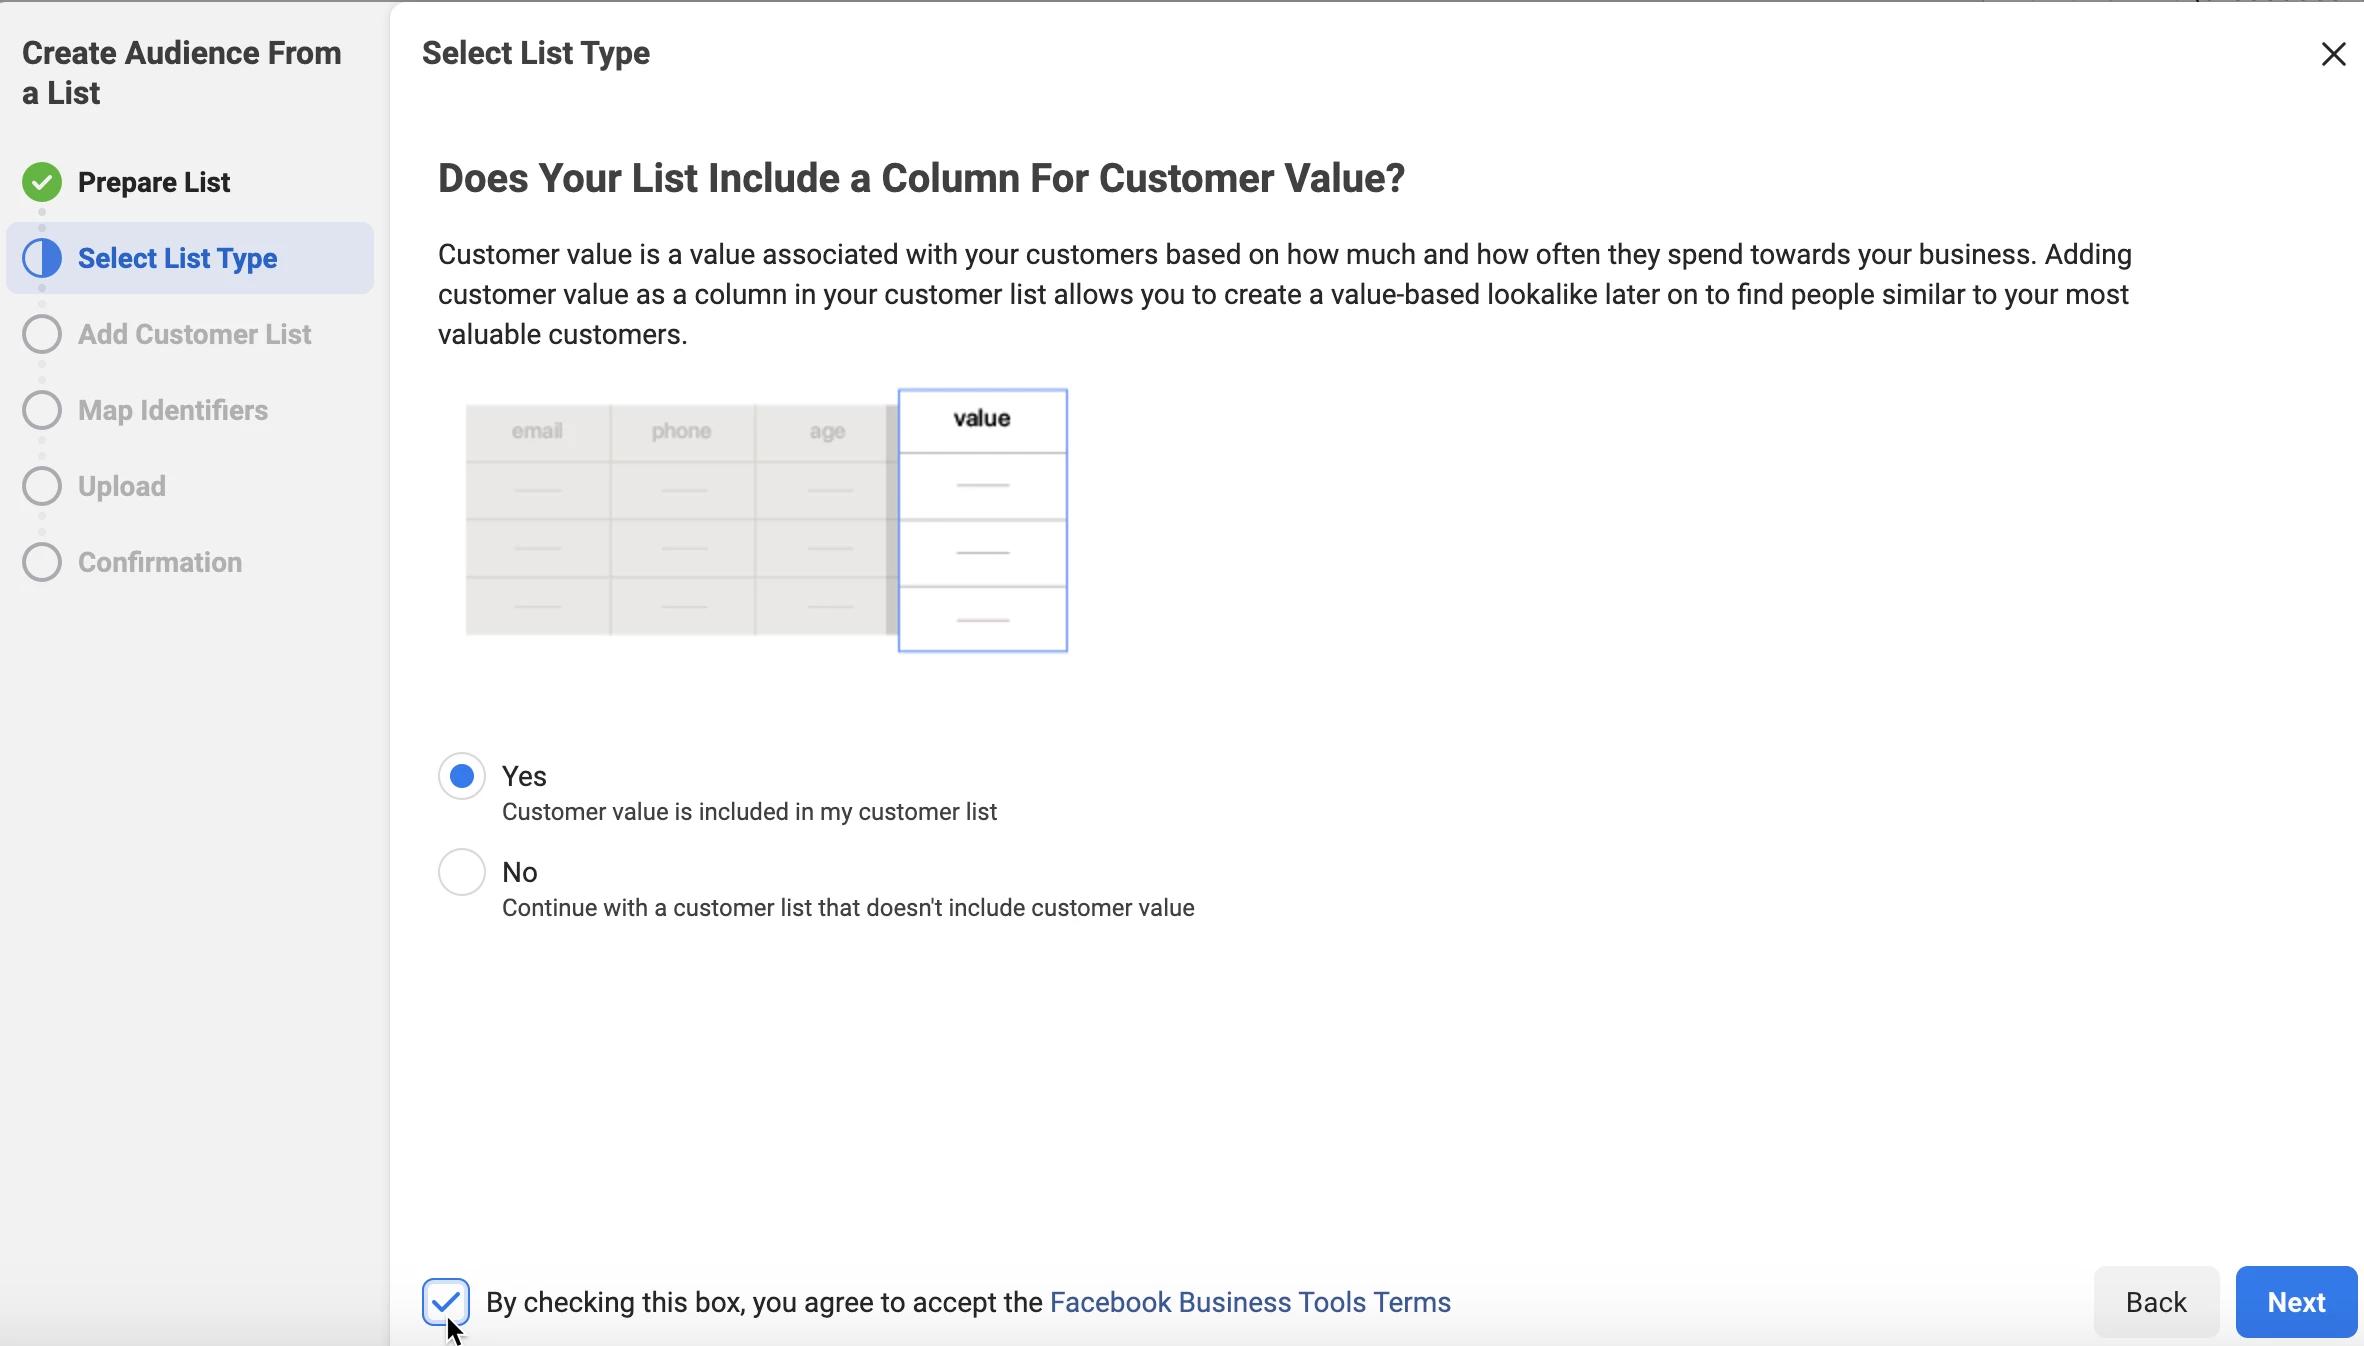
Once you click the link, you can verify you're on the correct page if the URL follows this pattern:
https://business.facebook.com/customaudiences/value_based/tos.php?act=ACCOUNT_ID&business_id=BUSINESS_ID.Note that this is not an actual link. You have to replace ACCOUNT_ID and BUSINESS_ID with your Facebook values.
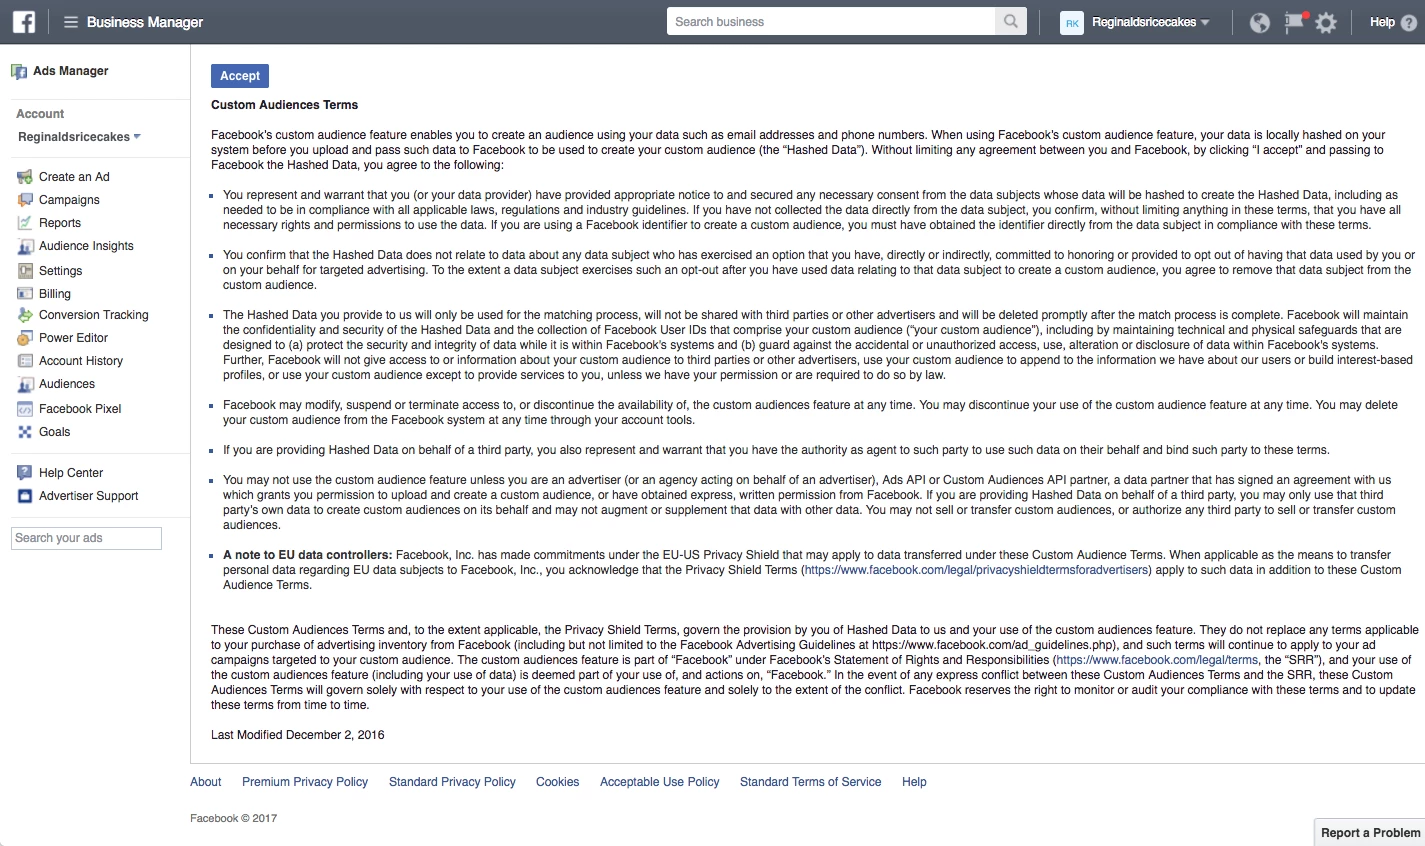
You can accept the terms using the Accept button at the top of the page.
Alternative Instructions
1. Log into tour Klaviyo account account and visit your Facebook integrations page: https://www.klaviyo.com/integration/facebook#
2. In the top right of the screen, remove (not disable) the integration:

3. Log out of Klaviyo
4. In your web browser, clear your cache and cookies. This will allow Klaviyo to create a fresh connection under your Facebook page (which should have the correct permissions).
5. Log into your Facebook page. Please ensure that the Facebook account which you are signed into has ADMIN permissions so that you can manage lead ads and custom audiences
6. Once you confirmed that you have the correct permissions, log back into Klaviyo and re-integrate with Facebook according to this guide: How to Integrate with Facebook Advertising.
When re-adding the integration, you will get routed to Facebook if you are currently signed into Facebook. Instead of "Continue as", you will select "Edit Settings". If you manage multiple Facebook pages, you will need to make sure this step is done.
The next option will show all of the pages you are associated with. From there, you select the page in question. If it does not show up at this step, make sure you are listed as an admin. 
Don't forget to enable all permissions for the Facebook page
7. You may need to set up your custom audiences and lead ads again once the integration is complete.