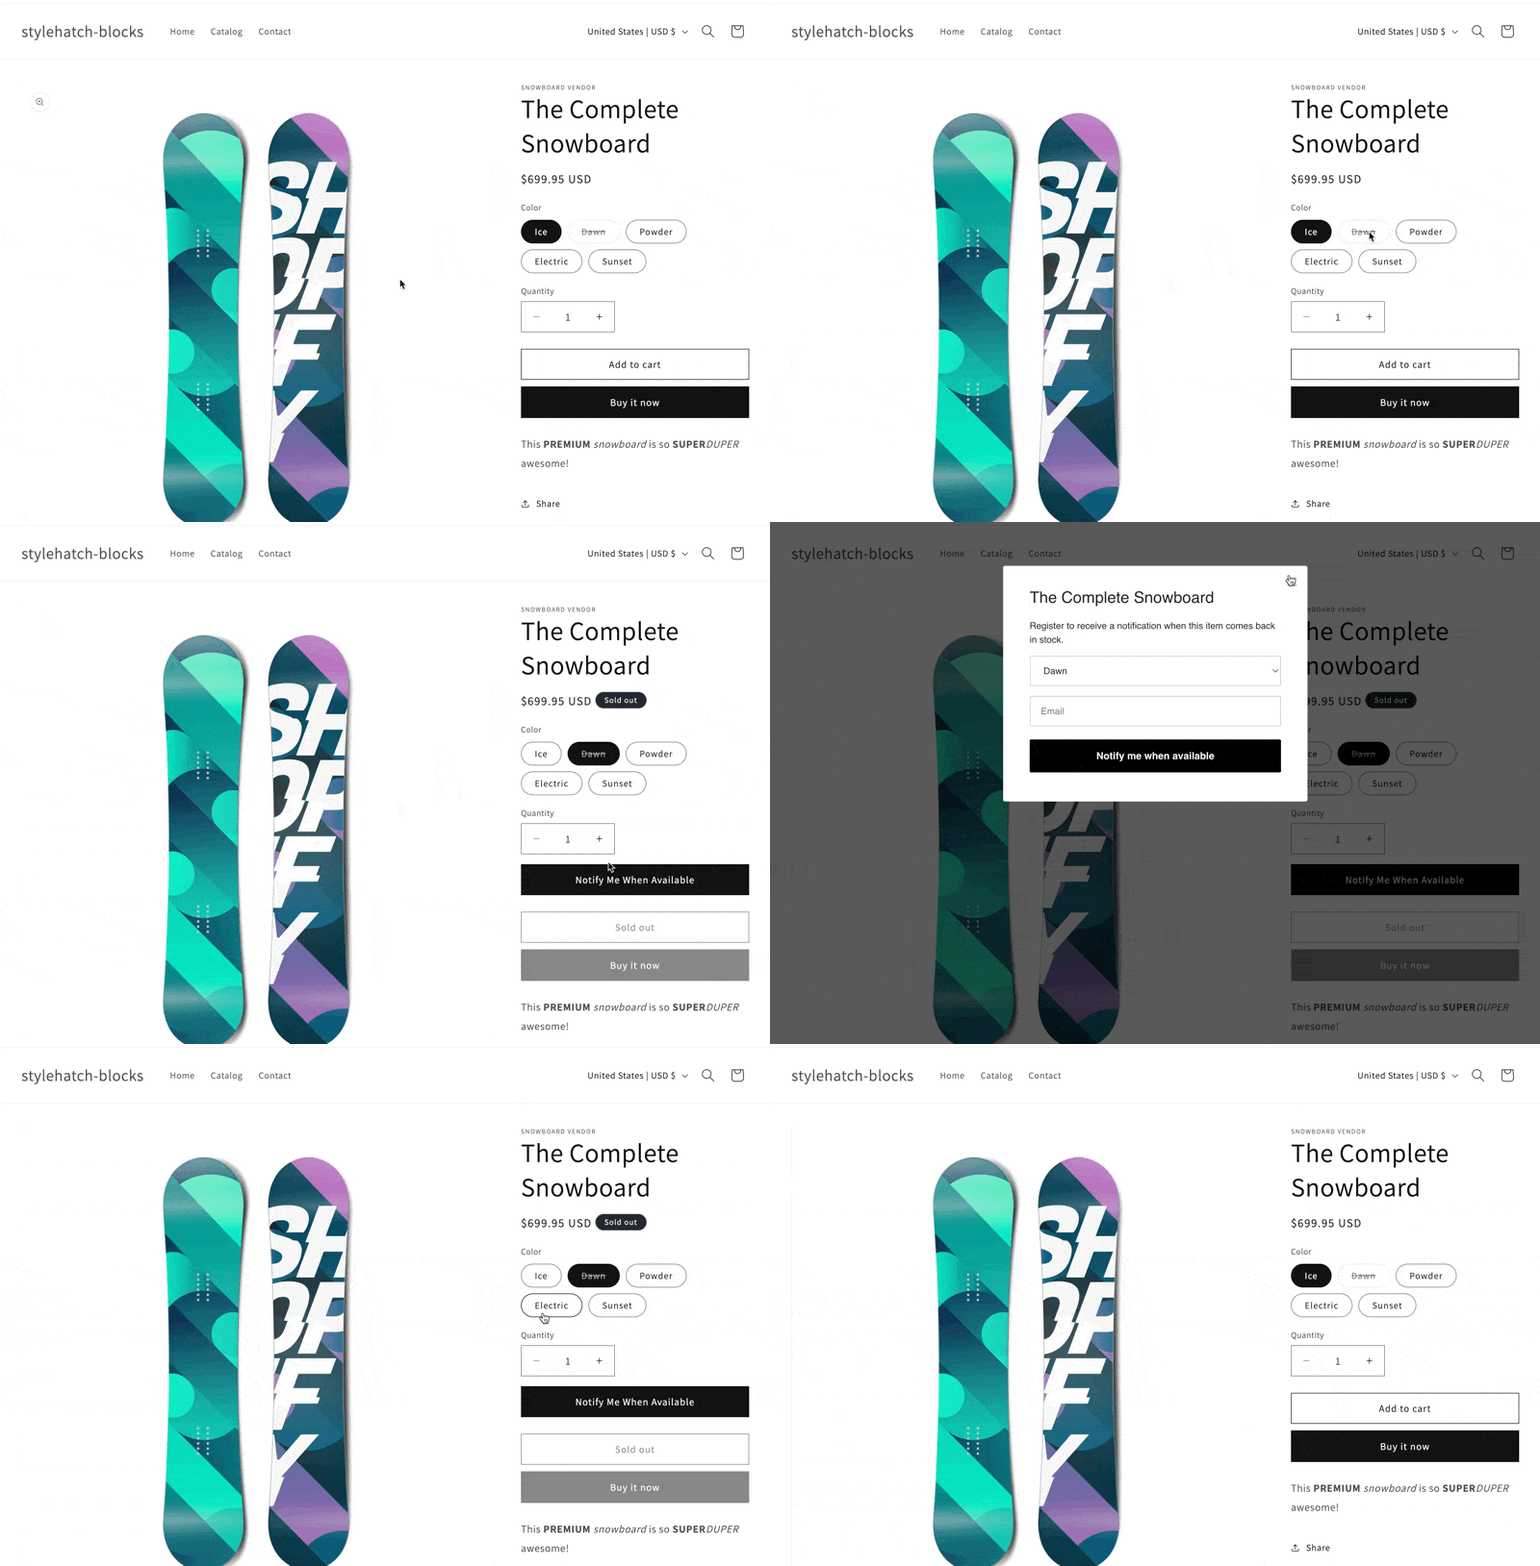
As a company we create premium themes and lead engineering for kosas.com, and frequently customers will reach out about instructions on how to add Klaviyo’s Back in Stock button to Shopify’s Online Store 2.0 themes (free, premium and custom). Klaviyo does have documentation for “free Shopify themes”, however all of the themes on their list like Debut, Venture, Narrative, etc were deprecated and removed in 2022. All of Shopify’s current free OS 2.0 themes like Dawn, Refresh, Craft, etc do not work with Klaviyo’s current documentation or take advantage of the features like Custom Liquid blocks so that you don’t have to edit theme code.
Here are detailed steps on how to add Back In Stock on any of Shopify’s new free themes:
- In the Shopify Admin under Online Store > Themes click Customize on the theme you want to add the Back In Stock button to.
- In the preview window of the theme editor browse to any product or in the dropdown at the top change the template view to Products > Default product.
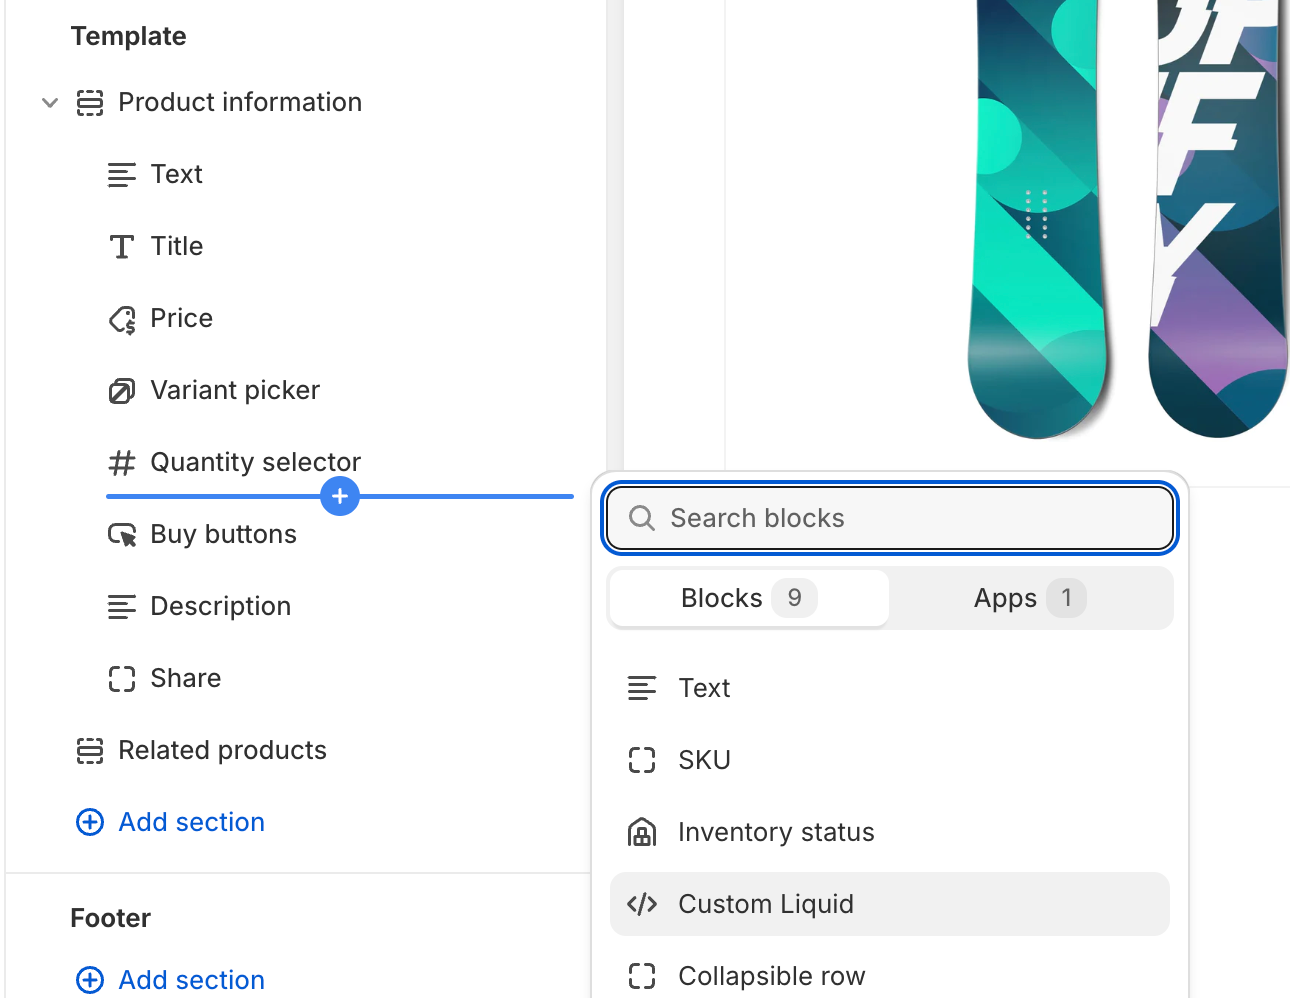
If you have multiple product templates set up you might need to go through the steps for each one. - In the Product information (or Product details) section click Add block and find the Custom Liquid block to add. This block allows you to add in custom Liquid or HTML without editing the theme’s code and disability the theme’s auto-update feature.
- In the Custom liquid section this is where you would add the HTML snippet for the Back In Stock button following Klaviyo’s guide. You will need to add a
<div>container with a uniqueidand the trigger’salternate_anchorparameter to tell Klaviyo where to add the button. Make sure you replacePUBLIC_API_KEYwith your Klaviyo public API key. Learn how to find your account's public API key.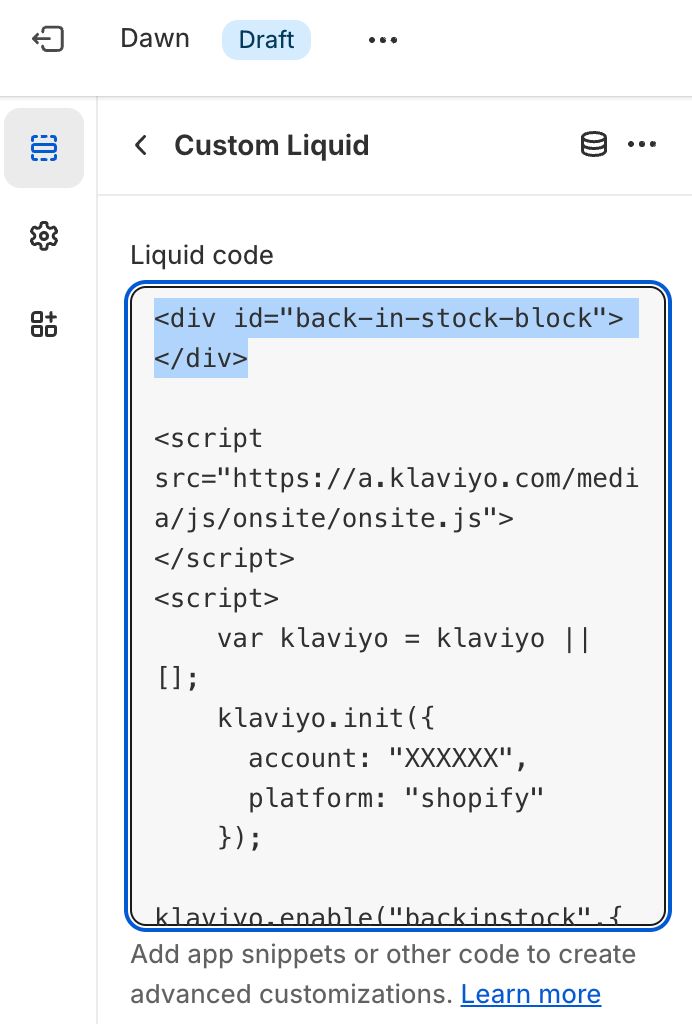
<div id="back-in-stock-block"></div>

<script src="https://a.klaviyo.com/media/js/onsite/onsite.js"></script>
<script>
  var klaviyo = klaviyo || c];
  klaviyo.init({
    account: 'PUBLIC_API_KEY',
    platform: 'shopify',
  });
  klaviyo.enable('backinstock', {
    trigger: {
      alternate_anchor: 'back-in-stock-block',
      product_page_text: 'Notify Me When Available',
      product_page_class: 'button button--full-width',
      product_page_text_align: 'center',
      product_page_margin: '0px',
      replace_anchor: false,
    },
    modal: {
      headline: '{product_name}',
      body_content:
        'Register to receive a notification when this item comes back in stock.',
      email_field_label: 'Email',
      button_label: 'Notify me when available',
      subscription_success_label:
        "You're in! We'll let you know when it's back.",
      footer_content: '',
      drop_background_color: '#000',
      background_color: '#fff',
      text_color: '#222',
      button_text_color: '#fff',
      button_background_color: '#000000',
      close_button_color: '#ccc',
      error_background_color: '#fcd6d7',
      error_text_color: '#C72E2F',
      success_background_color: '#d3efcd',
      success_text_color: '#1B9500',
    },
  });
</script>- Drag and drop where you want the button to appear—above the buy buttons, below the price, etc. Then save the changes.
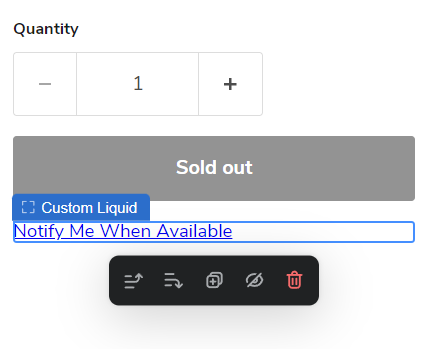
With the product_page_class added this will properly style the Notify Me When Available button with a full width, solid button style in all Shopify OS 2.0 free themes:
- Dawn
- Spotlight
- Refresh
- Craft
- Sense
- Origin
- Ride
- Taste
- Studio
- Publish
- Crave
- Colorblock
